Category Archives: Baking

Baking Food Travel

Gluten-Free Banana Chocolate Muffins

I don’t know about you, but I’m pining for summer. We had a lovely, temperate summer here in San Diego and have been suffering through a heat wave for the past couple of weeks. Suffering, I say! Because we San Diegans cannot stand temperature fluctuations greater than +/- 3 degrees.

How was summer for you? It was my first summer in my new life as an independent consultant, which meant that I got to do interesting work, but was still able to take the odd day off and spend a day at the beach with the girls. I’m loving this gig; it’s a privileged position to able to choose the work that I take on, and it helps me with setting boundaries — something I’ve never really been very good at doing.

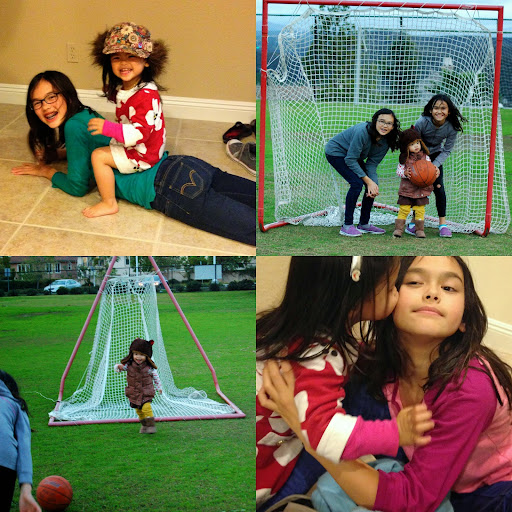
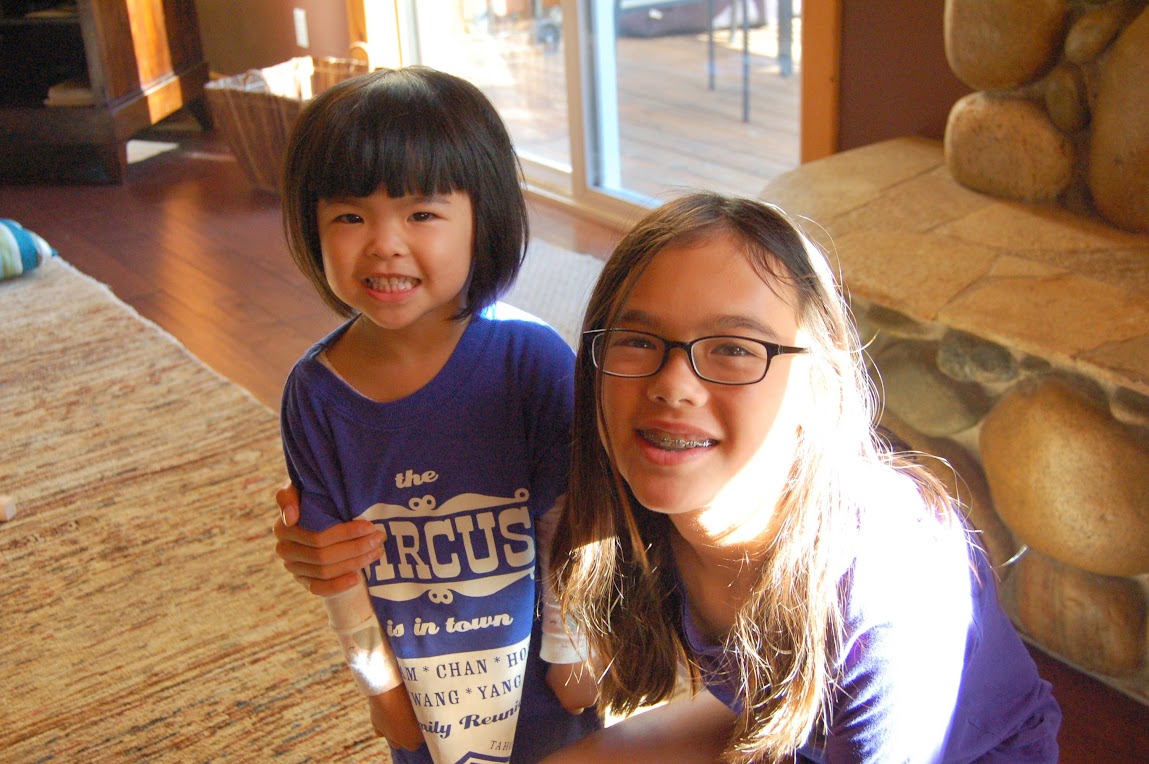
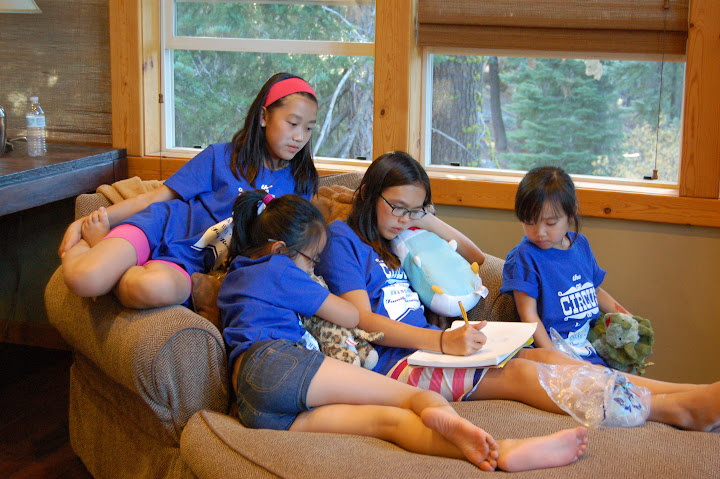
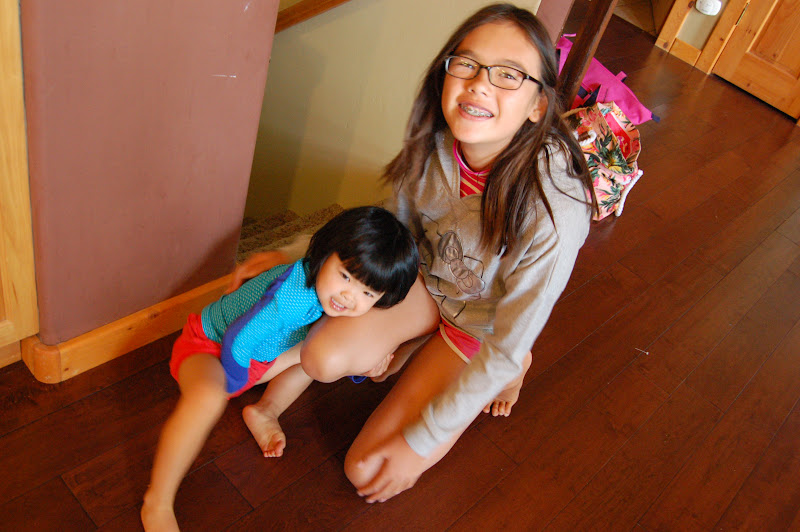
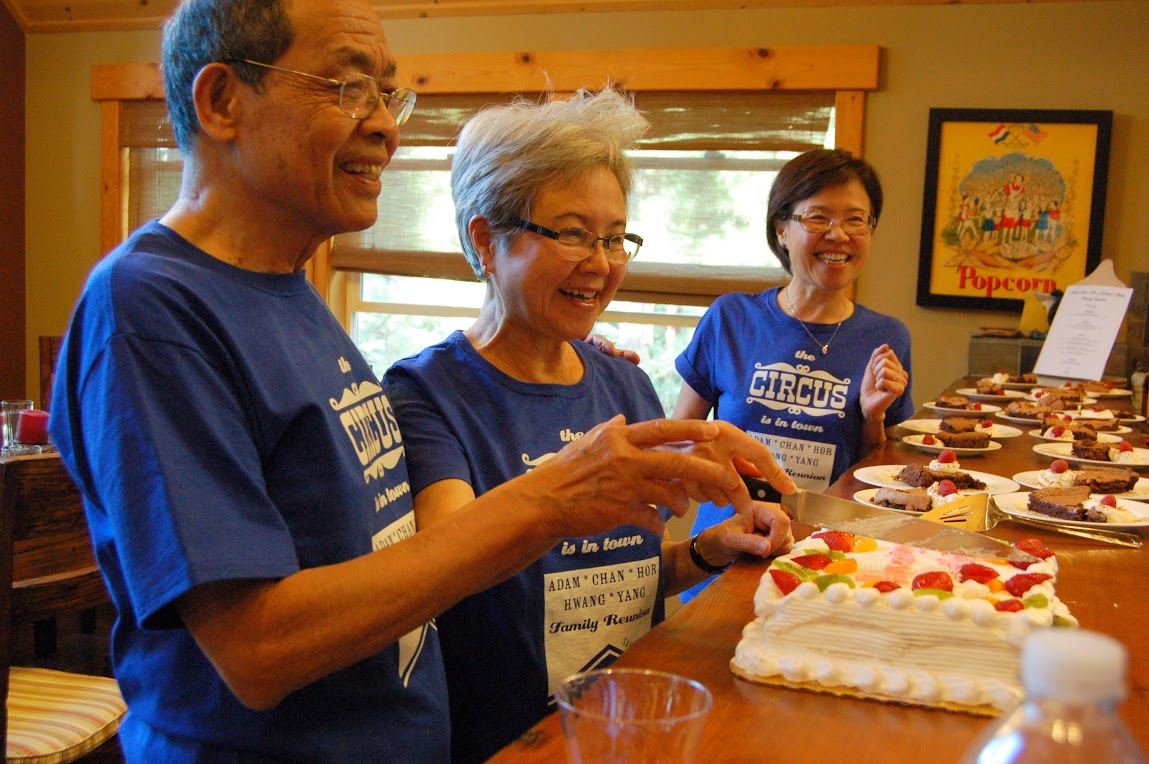
Our big trip of the summer was up to Lake Tahoe, where we had a family reunion with three generations of family from my mom’s side. My mom had 9 kids in her family, so when we have whole-family get-togethers, we usually take up a whole restaurant. This was a scaled-back gathering of the family that’s living the in the United States.

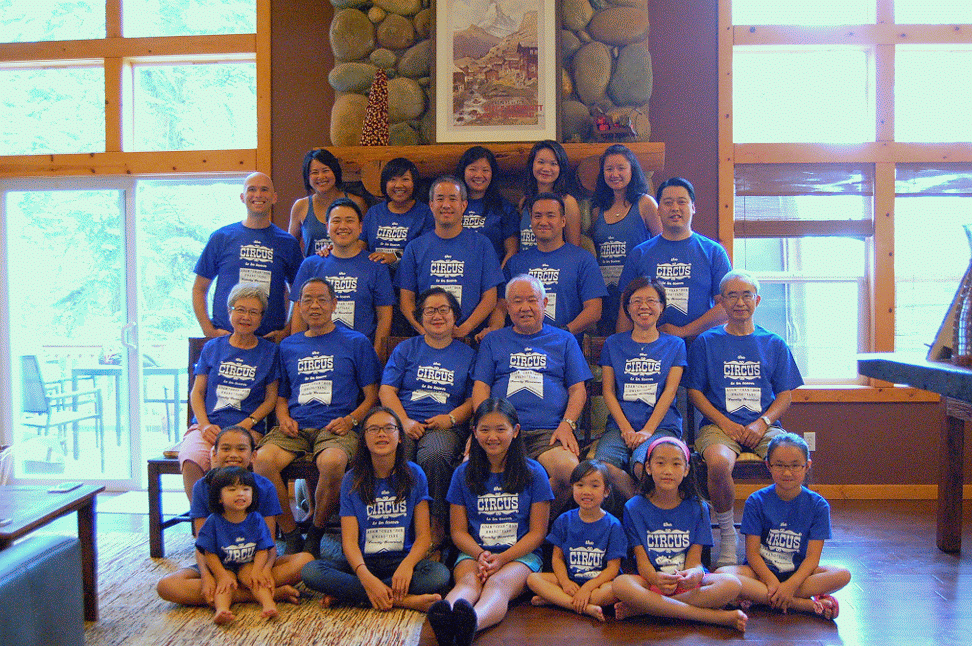
A lively bunch, they are.

The kids got to do what kids do…you know, making weapons out of sticks…
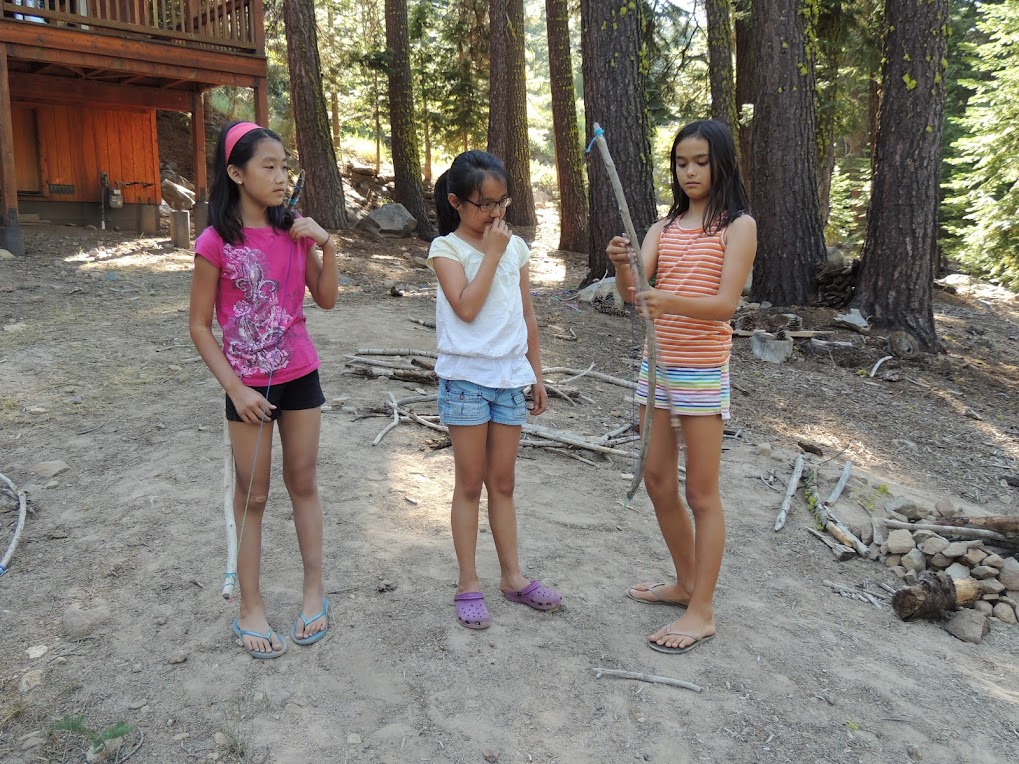
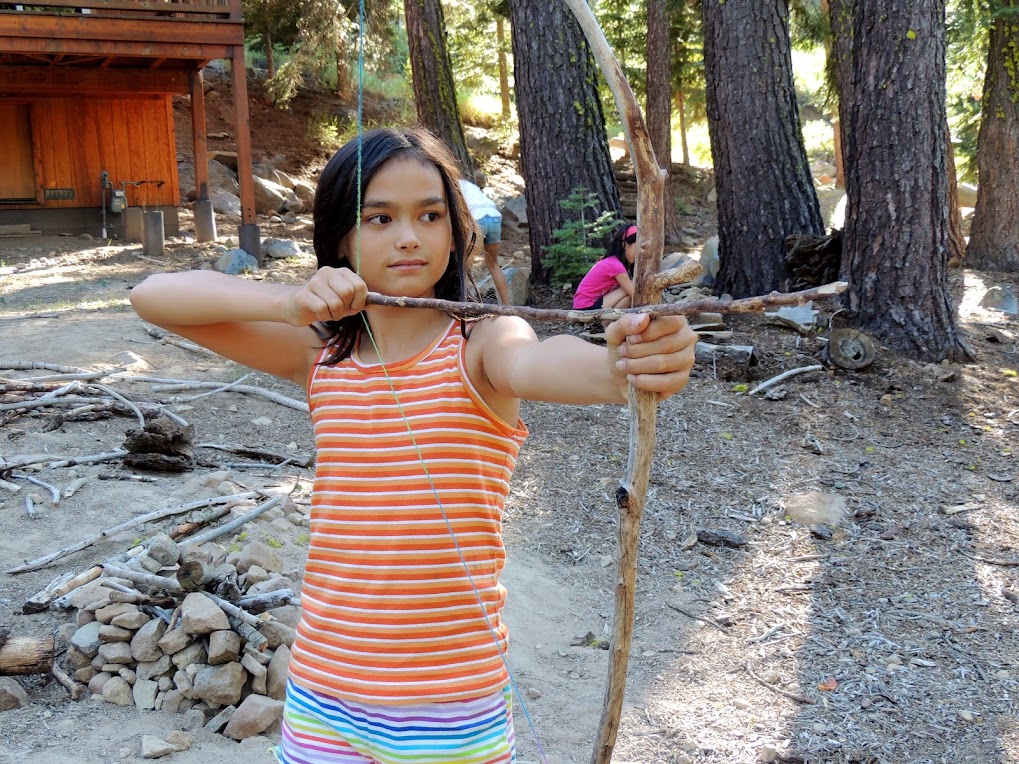
…and so on…

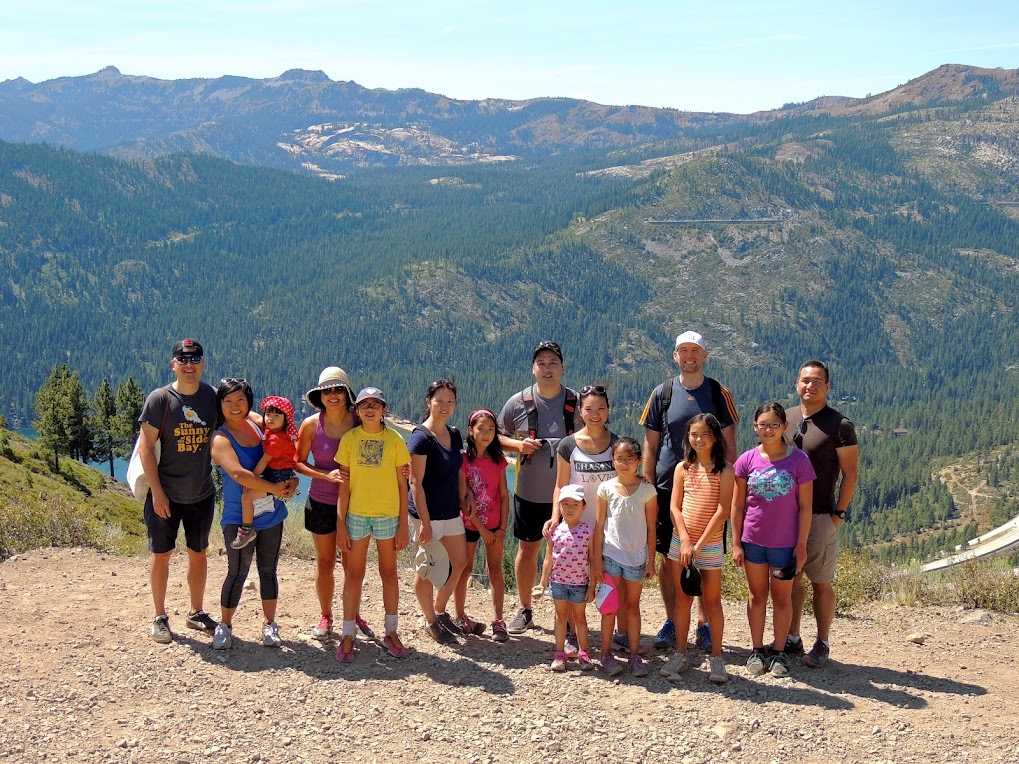
The lake was nothing short of amazing. Amazing! Clear! Sparkly! Here I am having one of the happiest moments ever, on a paddle board in the middle of this incredible view (photo credit to my cousin Jack!):

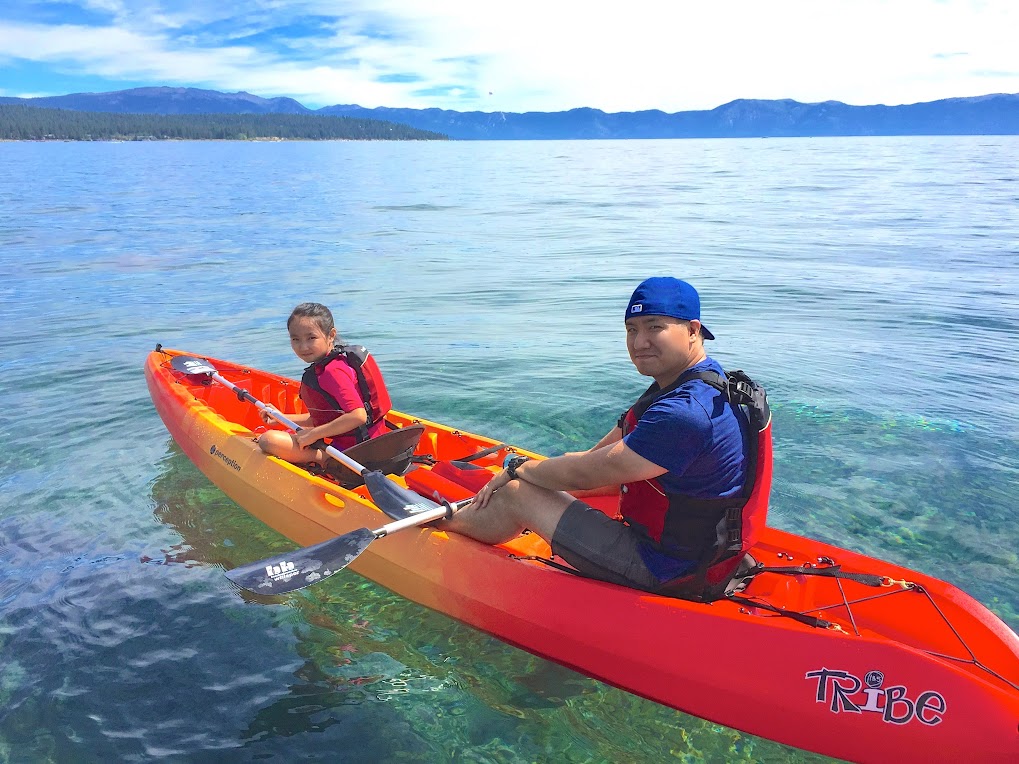
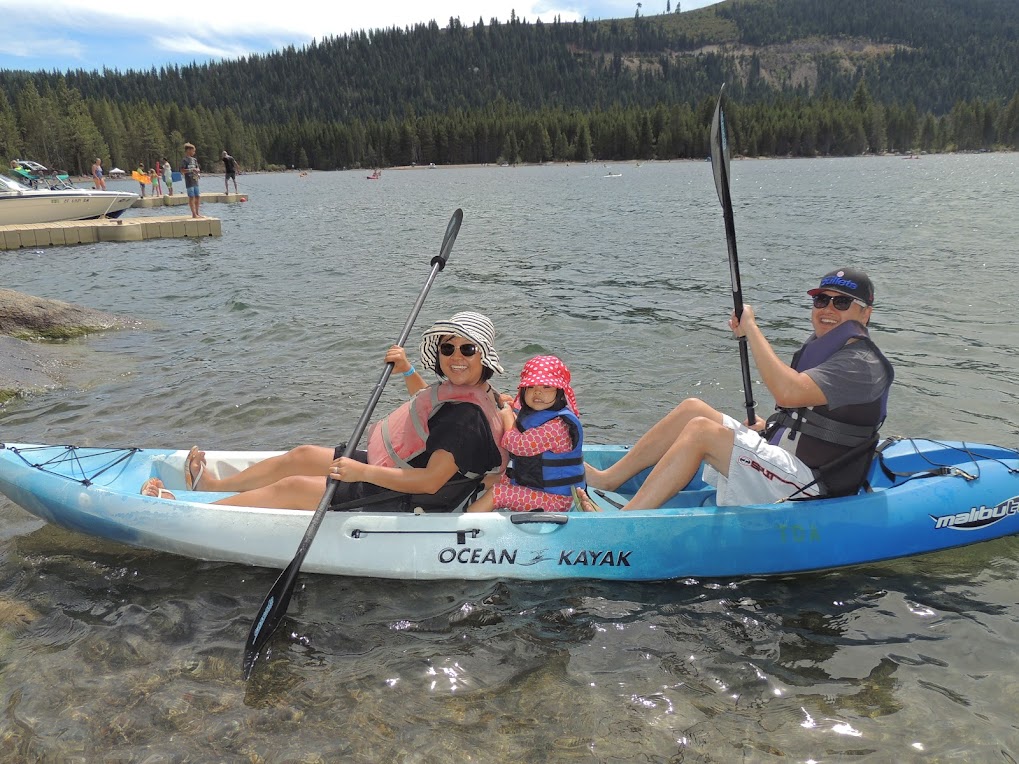
Plenty of kayaking and boating to go around too.

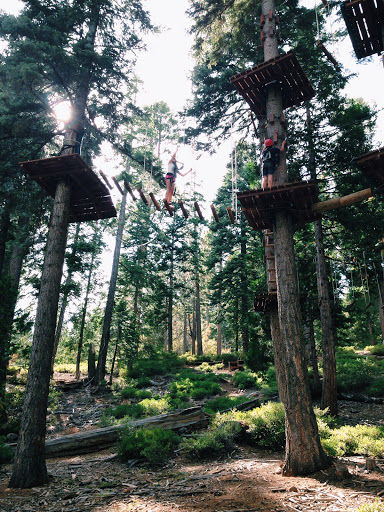
And some of us did some tree climbing on a ropes course:

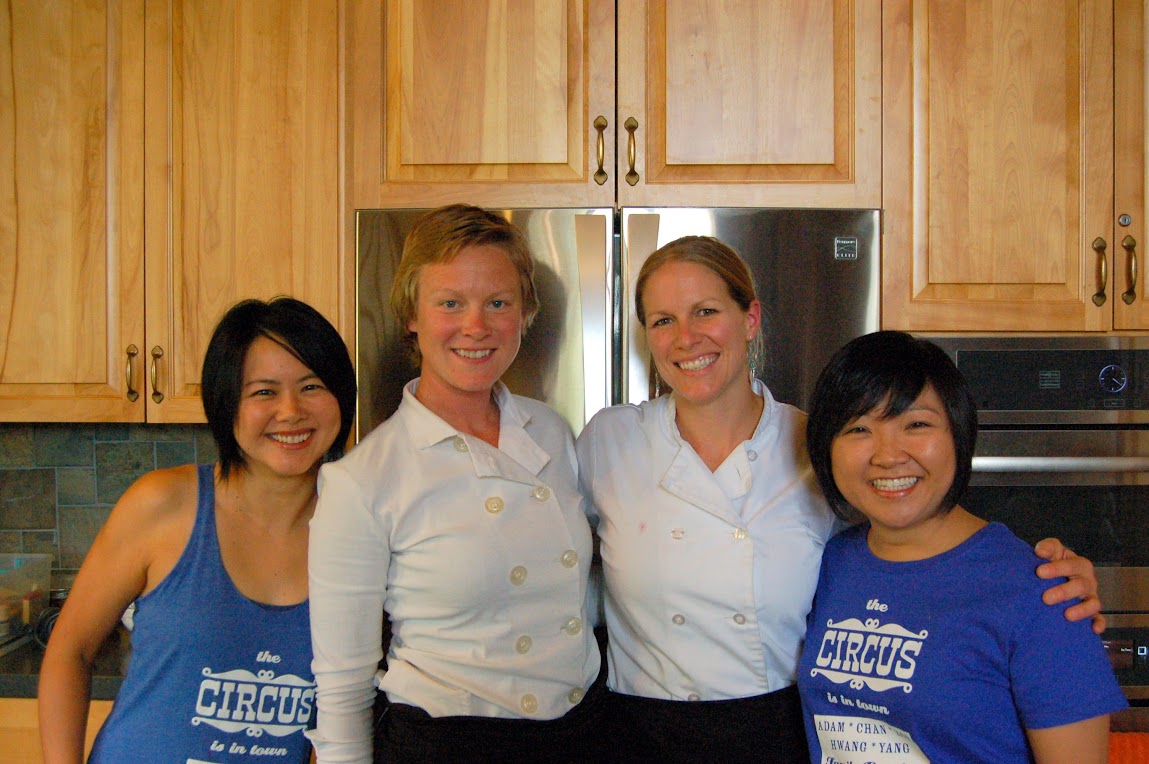
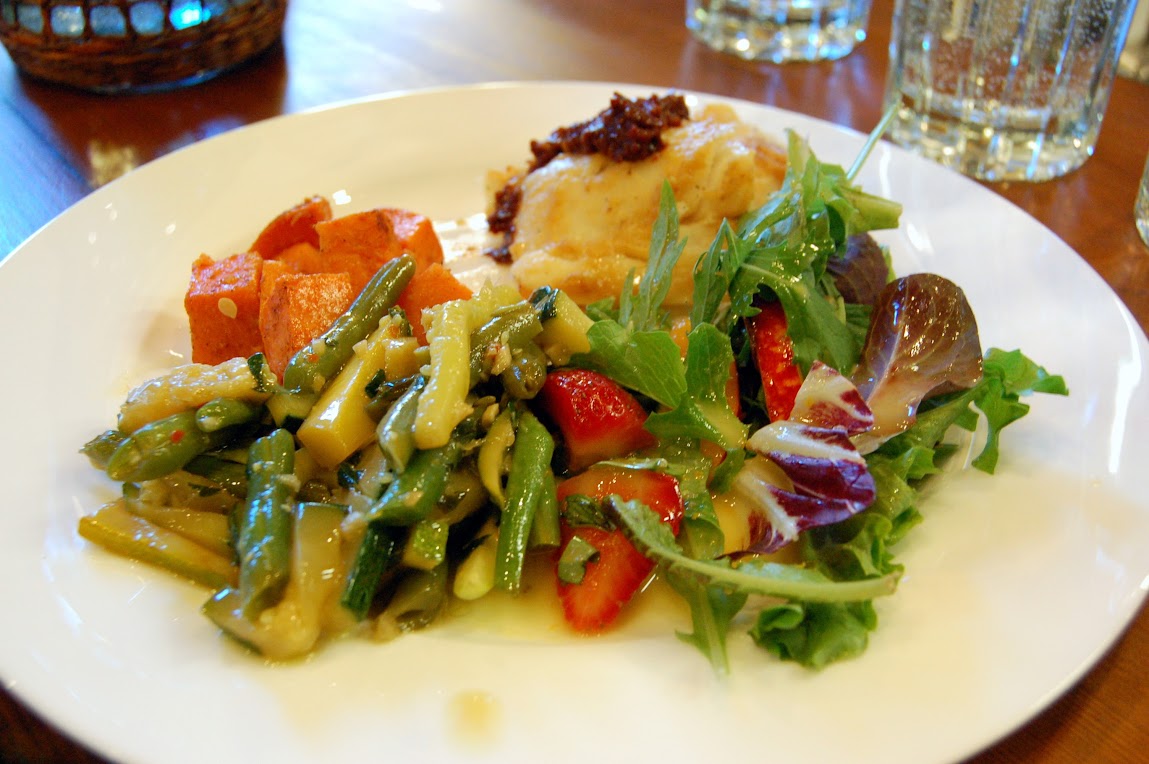
The best thing we did (thanks to the spectacular organization skills of my sister-in-law) was to hire a private chef — Arica from Yummy Fixins — who was soooooooo fantastic. Not only was her food spectacular, but she and her assistant cleaned the kitchen before and after! If you are in Tahoe, it would simply be wrong not to hire Arica.

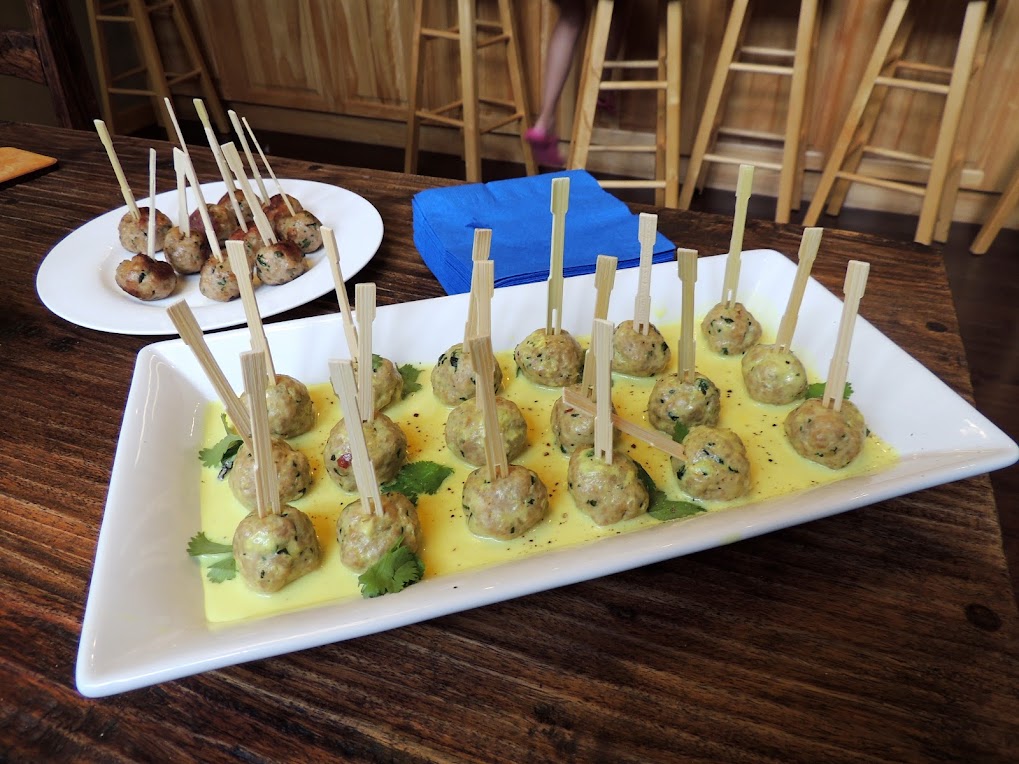
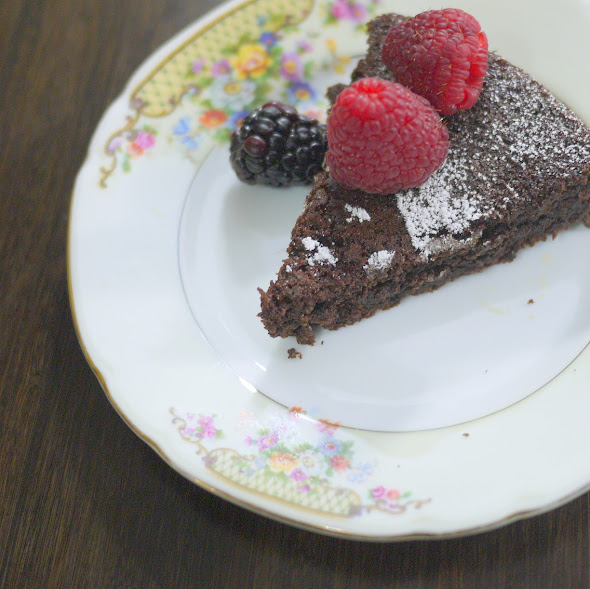
See those flourless chocolate cake slices in the back? I would fight you for them! The BEST I have ever tasted.

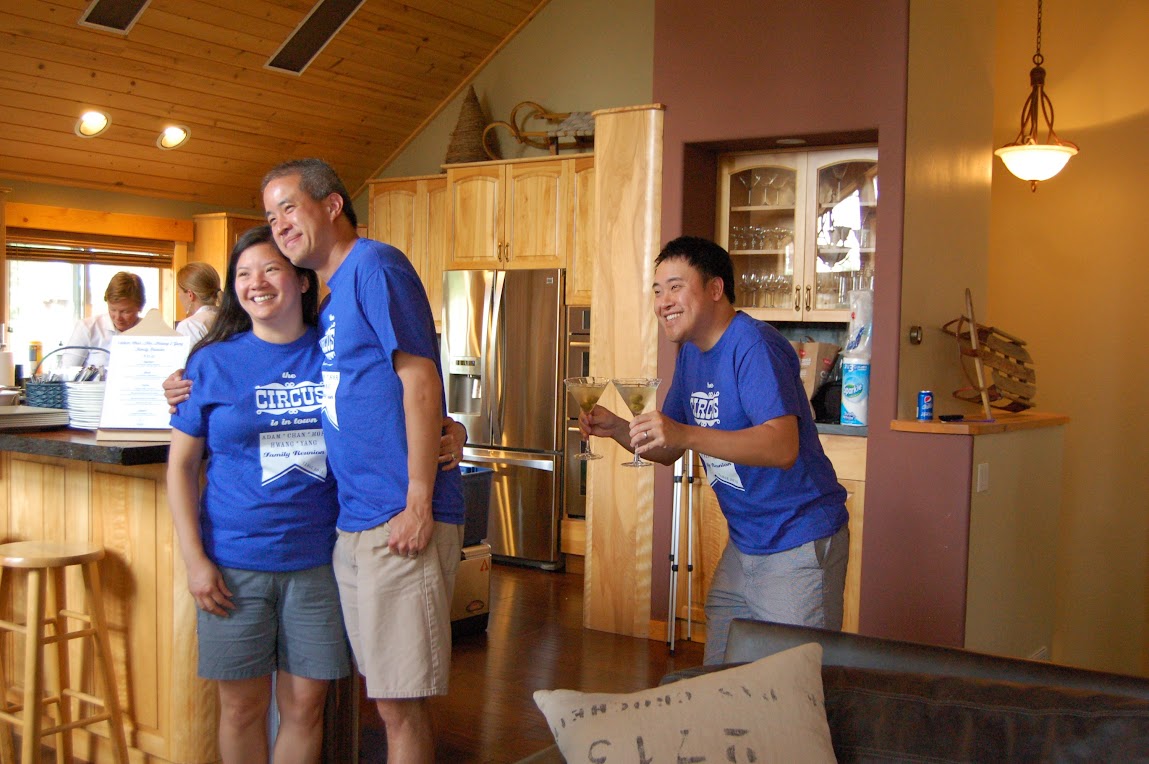
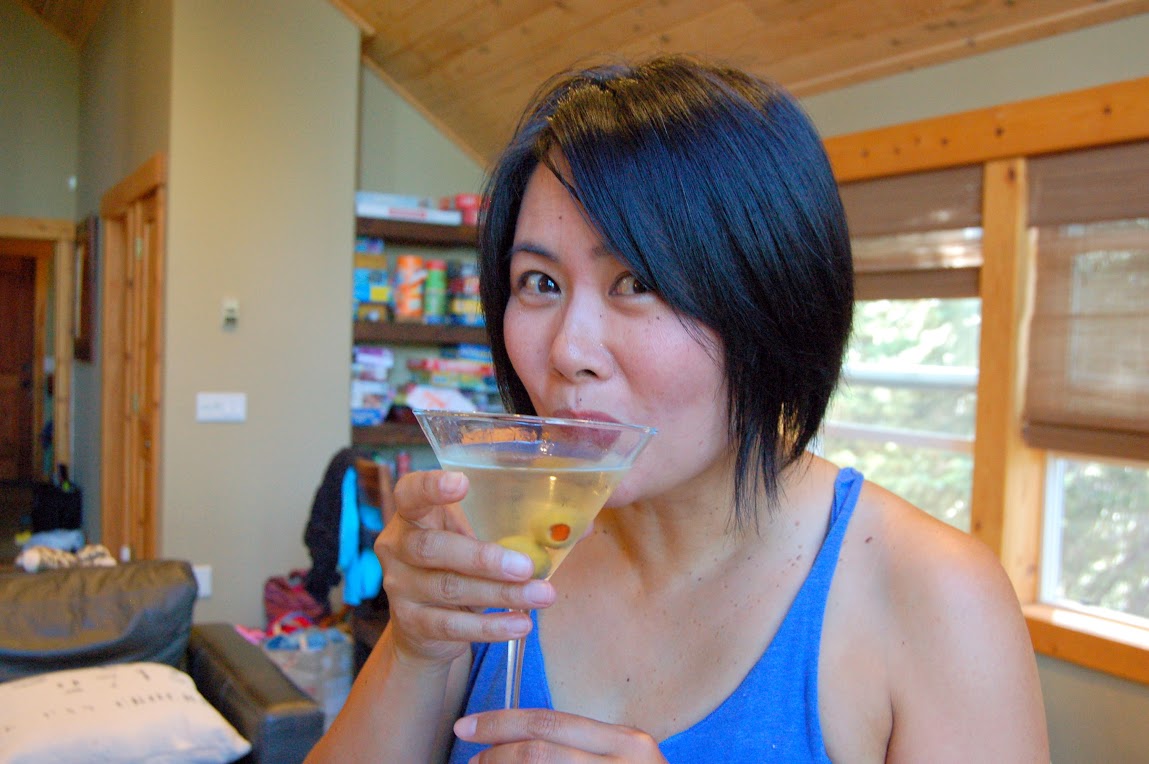
My brother was in charge of martini-making and photo bombing:

My cousins and I used to spend summers together hanging out, torturing one another and generally engaging in what is most accurately described as nonsense, so it was great to have an opportunity to gather us from all the corner of the country to do this all over again, across three generations.

After the reunion, we made our way back down the California coast. If I am ever a cow, please make me a Big Sur cow. They have the most amazing views.

I’ll do a roundup of the coastline drive in another post, but that’s just a taster…isn’t it lovely?

Ah, thanks for allowing me to relive one of the highlights of summer. And now, back to real life. The kids are back in school, we’ve got multiple Google Calendar carpools going on, and a middle school kid in the mix.  Our mornings are rushed and the easiest meals are often cereal, so that’s the go-to for the kids.

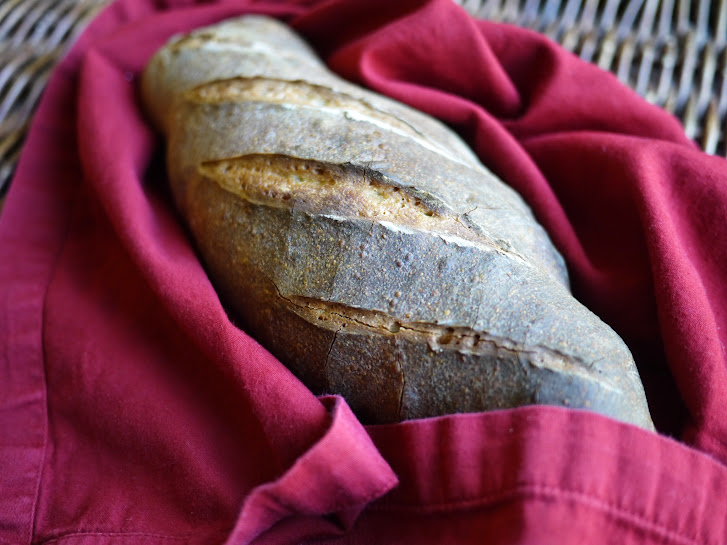
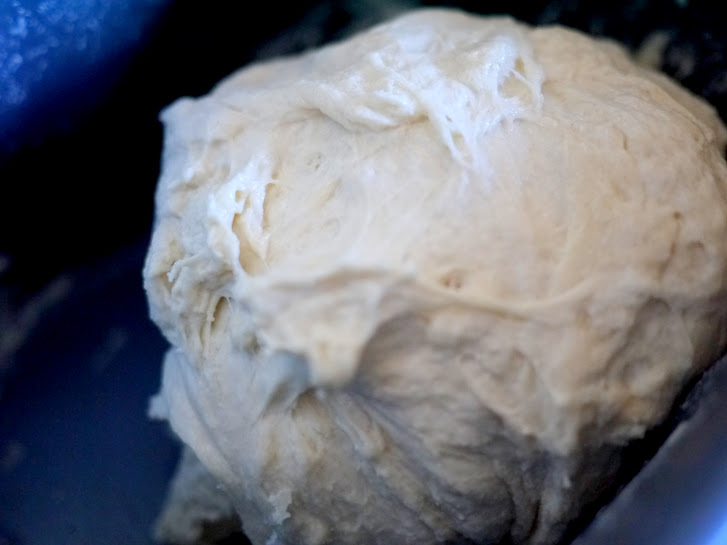
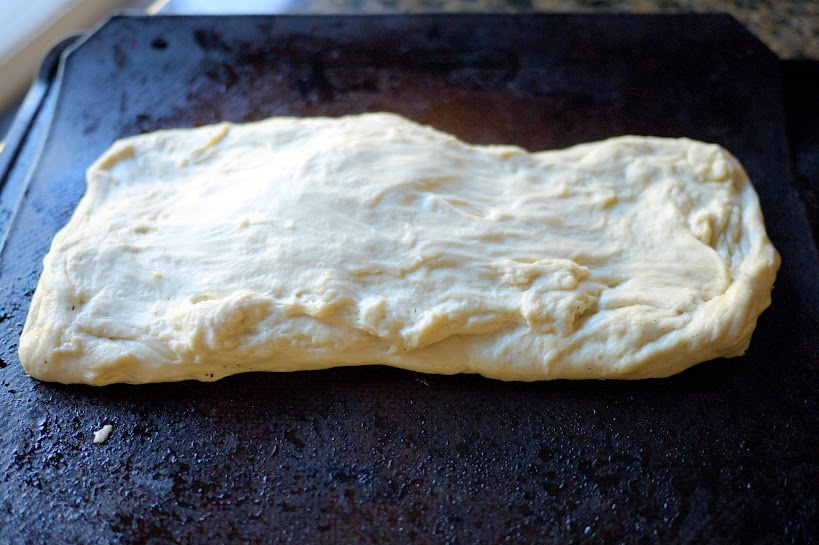
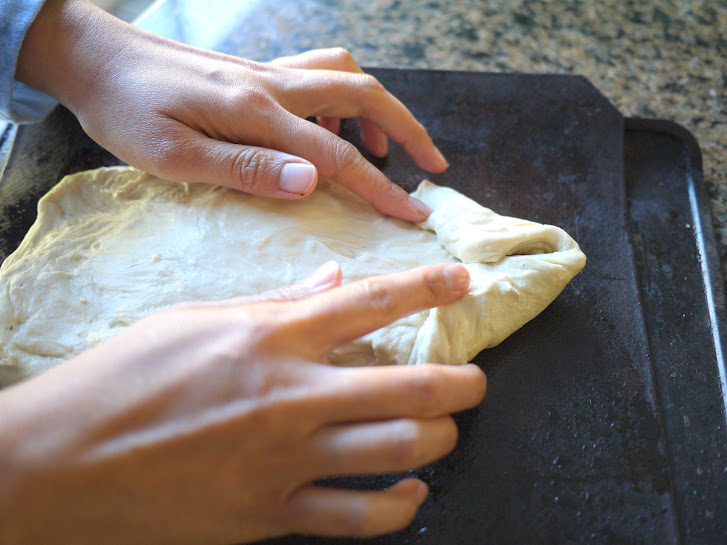
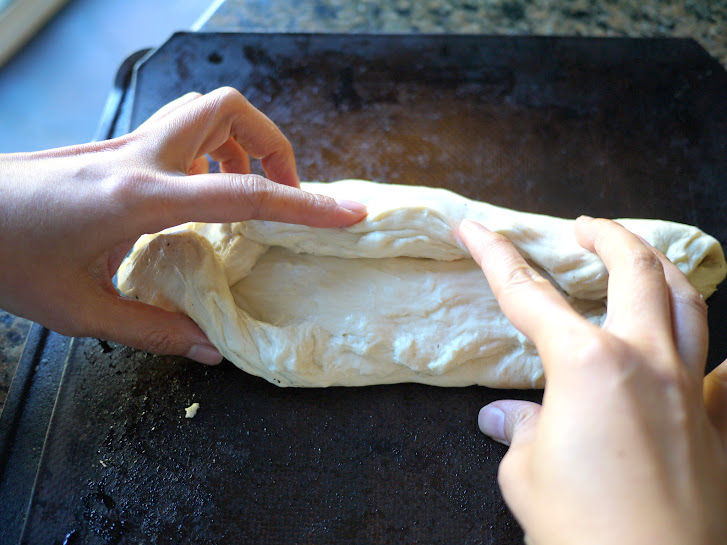
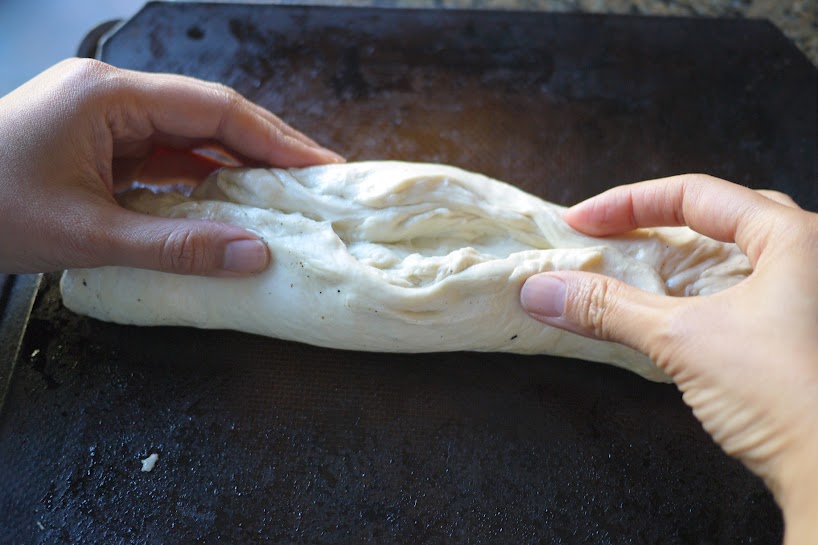
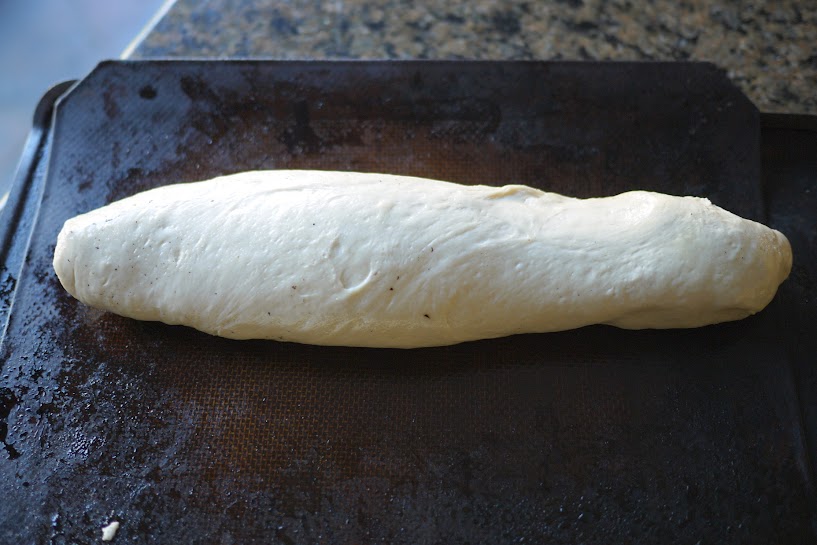
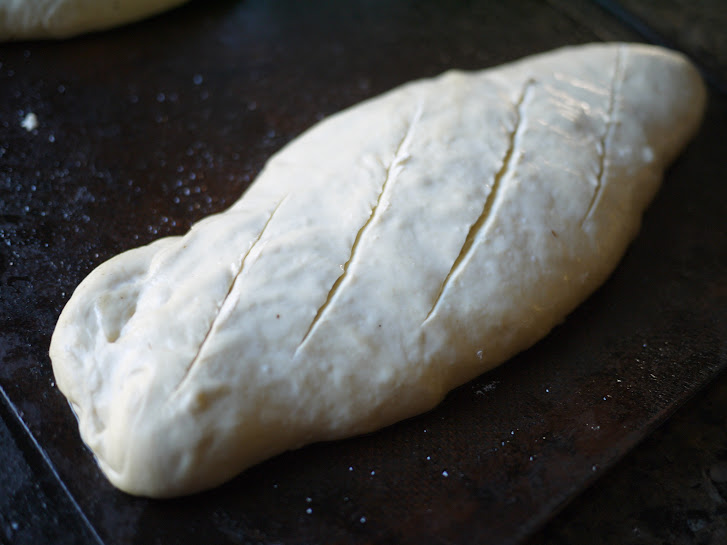
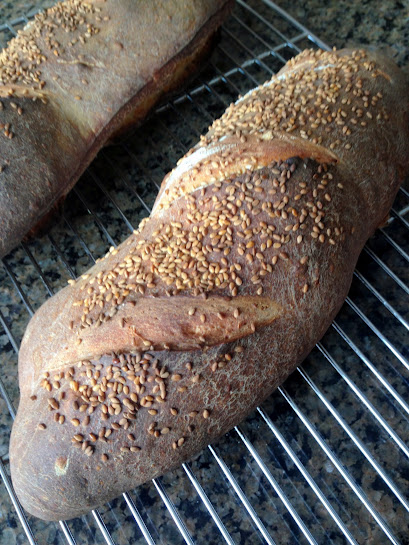
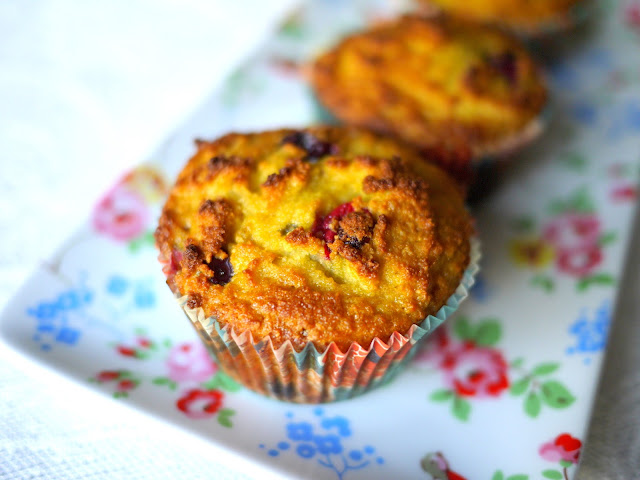
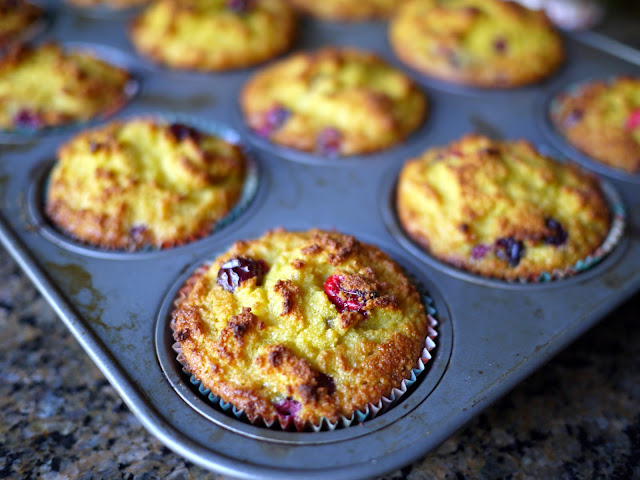
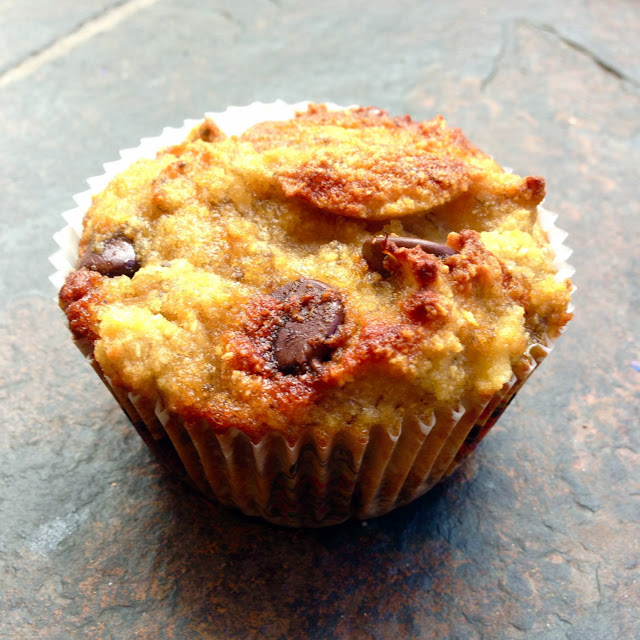
I’ve been adding these gluten-free banana chocolate muffins into the repertoire lately. Now, we all know that I’ve got nothing against gluten, being that I bake my own bread. But these are so easy to make, don’t require a ton of ingredients, and they always, always come out moist. We’ve made a little video below, with the full recipe under the video. Hope you enjoy these — cheers!


GLUTEN-FREE BANANA CHOCOLATE MUFFINS

Ingredients

  • ¾ cup coconut flour
  • 6 eggs
  • 3 ripe bananas, mashed
  • ½ cup raw honey, at room temperature
  • ¼ cup melted coconut oil
  • 1 teaspoon vanilla extract
  • 1 teaspoon baking soda
  • 1 teaspoon chia seeds
  • ¼ teaspoon salt
  • 1/2 cup semi-sweet chocolate chips

Preparation

  1. Preheat the oven to 350F and line a standard muffin tin with 12 baking cups.
  2. In a large mixing bowl, combine the all ingredients except for chocolate chips. Use a spatula to mix well; then fold in the chocolate chips.
  3. Divide the batter among the 12 cups, then bake at 350F for 23-25 minutes, until the edges are golden the centers of the muffins feel firm to a light touch. Allow the muffins to cool for at least 20 minutes before serving.
  4. Store these in the fridge if not eating immediately.

Makes 12 muffins.

Baking Food

Stone Fruit Tartlet

You guys.

Someone (who I used to work with and who used a gaming headset for work and once embarked on gathering customer feedback unknowingly calling people using the “space chipmunk” voice setting on his headset) shared with me what I am sure is the 8th wonder of the world.

Go into Google Hangouts and type in /ponystream . Go on, I’ll wait.

Welcome to your changed life! Maybe My Little Pony isn’t as big a deal at your house as it is in mine, but it takes up a lot of bandwidth over here. One of my kids has a Fiverr business where she will draw you in My Little Pony style as well as a YouTube channel dedicated to pony drawing.

Now that it’s summer we’re spending more time at the beach, but My Little Pony is always with us.

Plus a little beach volleyball.

And the other great thing about summer? Stone fruits. Loquats, peaches, apricots, nectarines…so sweetly wonderful right now.

You could just eat them raw. You wouldn’t be sorry.

But maybe sometimes you want get a little fancy. Feel a bit like the queen. For that, you should make a tartlet.

We got these tartlet pans for our wedding 14 years ago and I finally thought NOW IS THE TIME. I only really make simple recipes, so this is what I did.

STONE FRUIT TARTLET

Makes 6 4-inch tartlets.

Ingredients

Filling

  • 3 cups of pitted stone fruit, such as peach, loquat, or nectarine, chopped
  • 1/2 cup coconut palm sugar
  • 3/4 cup flour
  • 1/2 cup unsalted butter, chilled and cut into pieces
  • 1 cup rolled oats

Crust

  • 2 cups flour
  • 1/2 cup coconut palm sugar
  • 1 cup butter

Preparation

Preheat the oven to 350 F.

Crust: Mix the flour, palm sugar and butter with an electric mixer til crumbly, about 2 minutes. Press the mixture into six 4-inch tartlet pans, so that it’s about 1/4 inch thick. Bake for about 20 minutes, checking frequently after 10  minutes, til the crust is lightly browned.

Filling: While the crusts cool, raise the oven temperature to 400 F. Toss the stone fruits in a large bowl with 1/4 cup of the palm sugar and 1/4 cup of flour. Spoon the mixture onto the tartlet crusts.

Put the remaining flour and butter into a food processor and pulse until the clumps are about the size of a pea. Add in the remaining palm sugar and rolled oats and pulse to combine. Press the mixture over the stone fruits.

Bake until the stone fruits are tender and the topping is a golden brown. Serve with whipped cream or ice cream if desired.


Baking Food

Artisan Bread in a Bread Machine

Hey friends! It seems I’ve gotten around to posting around once or twice a month lately, but if you want more frequent updates, hacks and all the latest on all things food, join me here on my Facebook page where friends and foodies will regale you with their witty and insightful banter.

I once sat with a tarot card reader at a party who told me that I needed to do something creative and with my hands. (She also implied that I was going to come into some type of large fortune, but, unless she meant a pretty decent loquat harvest, so far, no dice.)

She was right though – I do get great satisfaction from working with my hands and am probably happiest when I’m working in the garden. There was an article recently about how microbes in the soil combat depression. I don’t know if it’s the microbes in the soil or the fantastic conversations I have with the fruit trees, but being barefoot and feeling connected to the Earth definitely does something for me.

Also not long ago, I read a piece in the New York Times about gluten sensitivities. While there are certainly people with bona-fide celiac disease who can’t tolerate any amount of gluten, there are also countless people who believe they have gluten sensitivities that can ultimately be attributed to other things, like commercial leavening ingredients and preservatives.

I’m certainly no expert on the subject, but I am a fan of simple ingredients, so I started making my own bread this past year. It’s been a long road but I’ve finally gotten to a point where I think my bread qualifies as delicious: fragrant, crunchy crust and a moist, stretchy interior with lots of big nooks and crannies to show off the glutinous fibers.

I am not a big fan of cleanup, so I use a bread machine to handle the autolyse (rest), kneading and rising.

I also start with a sourdough starter, which is a living thing and which I consider a pet (Pete!). The older your starter, the more developed and complex the flavors; we’ve had Pete for about 10 years now. Check out Pete’s awesome glutinousness!

But if you don’t have a starter, you can start with the poolish in the recipe below; if you want to make a starter, click here for a recipe and instructions.

I modified a recipe I found online, over time, as I like more moisture in my bread and a little more salt. 

ARTISAN BREAD WITH A BREAD MACHINE from Bread Experience with my modifications:

Poolish
1/3 cup (2 5/8 ounces) cool water (about 65°F)
1/2 cup (2 1/8 ounces) European-Style Artisan Bread Flour
1/16 teaspoon (a pinch) instant yeast

Dough
All of the poolish (above)
3/4 cup (6 ounces) cool water, about 65°F
2 1/2 cups (10 3/4 ounces) European-Style Artisan Bread Flour
1 teaspoon instant yeast
1 1/2 teaspoons salt

The poolish:

In a medium-sized bowl, combine all of the poolish ingredients, mixing just till a cohesive dough forms. Allow the poolish to rest, covered, for 12 to 16 hours at room temperature. When the poolish is ready to use, it will be filled with large holes and bubbles.

The dough:

Add the water to the poolish or sourdough starter, and mix till smooth. Add the flour, and the yeast (I add yeast here so that it gets mixed in and protected from the salt, which will come in later), mix till just combined, cover the bowl, and allow the mixture to rest for 20 minutes. This rest period (autolyse, in French) allows the flour to absorb the liquid and the gluten to start its development, making kneading easier and more effective. Add the salt, and knead the dough till it’s fairly smooth but not necessarily elastic, 5 to 7 minutes in a bread machine. (The gluten will continue to develop as the dough rises, so you don’t want to develop it fully during the kneading process.)

This is what the dough looks like when I get to this point. If it’s looking dry, add water just a couple of drops at a time so that it’s moist but not super wet. Sometimes depending on how the dough looks, I might end up adding up to another 1/4 cup of water.

Close the lid on the bread machine and let the dough rise for 1 1/2 hours. To help develop the gluten, distribute the yeast’s food, and expel any excess carbon dioxide, turn the dough every 30 minutes during the rising time: gently fold all four sides into the middle, and turn the dough over.

Transfer the dough to a lightly greased work surface, divide it in half, shape each half into a rough log, cover them, and let them rest for 15 to 20 minutes. Again, this gives the gluten a chance to relax.

Shape the logs into batards (shorter and fatter than traditional French baguettes) or Italian-style loaves—tapered ovals about 12″ long. Place them on a lightly greased or parchment-covered baking sheet, cover them with an acrylic dough cover, stick them in an oven that’s off (that’s what I do, but I have two ovens), or gently with lightly greased plastic wrap, and allow them to rise, at room temperature, for about 2 hours; they should rise about three-quarters of the way to doubled. If they rise too much they’ll lose their shape in the oven, so be sure they don’t over-rise.

This is how I shape the dough:

At this point I flip the log over so that the seem is on the bottom.

Using a sharp knife or razor, and holding it parallel to the dough*, make four slashes in each loaf. These should be more nearly vertical (running down the loaf) than horizontal (running crosswise), each stretching about one-third the length of the loaf. I find it easiest to do this with a serrated knife whose blade has been dipped in flour. Cut swiftly! Spray the loaves with warm water.

Preheat your oven to 425°F, making sure you give it plenty of time to heat; this bread needs to go into a HOT oven. Bake the bread for 30 to 35 minutes, or until it’s a deep, golden brown.

Note: European bread is generally baked longer than American loaves; if you’re uncomfortable with a very dark crust, reduce the baking time a bit. Turn off the oven, crack the door open about 4 to 6 inches, and allow the bread to cool in the oven; this will help it retain its crunchy crust.

Yield: 2 loaves.

*The blade shouldn’t descend into the dough at a 90° angle; rather it should slice under the surface at about 10° to 20°. This will allow the loaf to rise in a more attractive fashion as it’s baking.

I’ve also broken the dough into 4 mini-loaves, and baked them for lunch-sized portions. Recently, I’ve been adding on sesame and chia seeds — just sprinkle them on right after you’ve sprayed the dough with water, and bake as outlined above.

Baking Food

Paleo Gluten-free Orange Cranberry Muffins

Since December, I’ve been spending a disproportionate amount of time in sweatpants. Factors driving this behavior:

  1. They are the symbol of freedom.
  2. Nothing beats an elastic waistband when you’re eating. NOTHING.
  3. This is the year of the cute sweatpant (or, jogger, as it’s been rebranded). There are the printed type, which I like in concept but which always look like pajamas on me (probably because I refuse to wear heels with them, which I feel defeat the purpose of achieving ultimate comfort), and the solid type; these from Athleta are my all-time favorites (I got them for Christmas — thanks San-do-ra!).
  4. I left my executive job and am now consulting, mostly from home. I was just finding that even when I was at home, I was never mentally available to my family…I have a real problem compartmentalizing work (plus there were the weird hours and challenges of working in an international business). It’s been a lot easier now that I’m in full control of my work and time…and plus I can wear sweatpants.

There are, of course downsides to the exclusive wearing of elastic waistbands. The other night I went out to dinner for a friend’s birthday, and, as it was at a restaurant, I thought the occasion warranted pants (and not the elastic waistband kind that is made to mimic pants, which I have — but the real kind with a zipper and button and everything). Turns out if you move into real pants after weeks of wearing joggers, you have to go to the bathroom every 20 minutes from the extra pressure. Also, you may find yourself thinking things like, “Why should I have a separate wardrobe for sleeping?” Still, a small price to pay for the otherwise boundless joy.

While I was sitting around in my sweatpants over the holidays, we had visitors. My brother and his family came to visit. The girls had so much fun with their little cousin, who is a big fan of hats.

My brother has a gluten intolerance, and since I also had a friend visiting that week with celiac disease, I thought I’d try to make some gluten-free muffins (which also happen to be naturally sweetened) from paleo blogger Detoxinista. I added shredded coconut and chia seeds for some extra crunch and texture. I had pretty low expectations since most gluten-free baked goods I’ve seen looked kind of flat and generally unappetizing, but these orange cranberry guys puffed up nicely:

And, they were nice and moist. I’ve tried this recipe with a number of variations, and you can pretty much add in any combination of flavors and arrive at a nice paleo muffin.

My favorite part about the recipe — it’s a one-bowl wonder. Just throw everything into a bowl, mix it up, pour into muffin tins and bake! Leave me a comment if you try a different variation — I’d love to know about any winners!

PALEO GLUTEN-FREE ORANGE CRANBERRY MUFFINS
adapted from Detoxinista

Ingredients

  • ¾ cup coconut flour
  • 6 eggs
  • ½ cup orange juice
  • Zest of one orange (about 2 teaspoons)
  • ½ cup pure maple syrup or raw honey, at room temperature
  • ¼ cup melted coconut oil
  • 1 teaspoon vanilla extract
  • 1 teaspoon baking soda
  • 1 teaspoon chia seeds
  • ¼ teaspoon salt
  • 1 cup fresh cranberries
  • 1/4 cup shredded coconut

Preparation

  1. Preheat the oven to 350F and line a standard muffin tin with 12 baking cups.
  2. In a large mixing bowl, combine the coconut flour, eggs, orange juice, zest, maple syrup, coconut oil, vanilla, baking soda, chia seeds and salt. Use a whisk to mix well, breaking up any clumps, then fold in the fresh cranberries and the shredded coconut.
  3. Divide the batter among the 12 cups, then bake at 350F for 23-25 minutes, until the edges are golden the centers of the muffins feel firm to a light touch. Allow the muffins to cool for at least 20 minutes before serving.
  4. Since these muffins are very moist, leftovers should be stored in the fridge for best shelf life, but bring them to room temperature again before serving for best flavor and texture.

Makes 12 muffins.

Baking

Gluten-free Chocolate Quinoa Cake

The world is awash today with images of hearts and chocolate. Happy Valentine’s Day, friends. I know what you’re thinking. Chocolate, hearts, berries…but what’s Valentine’s Day without quinoa? I hear you, ye tired, hungry and gluten-free. Because having quinoa in your cake is like having dinner together with dessert. It’s just more efficient.

I happened upon this recipe at the Week of Menus blog. She must cook during the day because she has way better lighting than I do, and is reflecting on how to be a better mother while I am just thinking about my hair and thinking about how I can make dinner into a dessert. (I cut my hair. After a couple of weeks of awkward silences and people averting my gaze trying not to comment on it while I was figuring out how to work with it, I have finally found a way to make it look effortlessly tousled which requires way more time than if I tried to make it look like I made a concerted effort. But such is the price of beachy.)

Week of Menus has done a good job laying out the recipe, so I’ll just link to it below, but the basic gist is that you mix the quinoa in a blender with a bunch of stuff and end up with a batter that looks like this:

Bake it like she tells you to. I’m sorry, but making my hair look effortlessly tousled has drained me of my will to share detail. You’ll end up with a cake.

Then you can cut a heart out of wax paper, snowflake-style:

Place it over the cake and dust the top of the cake with powdered sugar:

End up with this:

So follow the recipe. Eat it. Enjoy.

Baking Food

Shortbread Cookies

Happy Christmas Eve and happy holidays! I should be scrambling around my house making canapes and getting ready for the flood of relatives coming through the door this afternoon, but I tarry. Instead, I’m thinking about whether I need to bake more of these cookies for tonight, and about things I would like but will not get for Christmas, such as:

  • A mechanism in my bed that allows a hole to be cut out so that I sleep on my stomach and still be able to breathe, massage-table style
  • An secret FDA-approved supply of injectible glucocorticoid that is only supposed to be administered by doctors but that I could administer myself whenever my skin breaks out

Back to things that I can make a reality: the kids and I baked these cookies for me to bring to the office for the holidays. They’re so easy that even I can make them, and the girls decorated liberally with sprinkles. I only had to make two colors of frosting (red and green) which makes me happy.

I believe that Martha Stewart is the original source for this recipe, which I got years ago in a cookie exchange. Here it is:

CHRISTMAS SHORTBREAD COOKIES (Martha Stewart)

This buttery cookie gets better with age: it can be stored up to a month, and over time the flavor deepens.

Ingredients

  • 1 1/3 cups (2 sticks + 6 tablespoons) unsalted butter, room temperature
  • 2/3 cup sugar
  • 3/4 tsp salt
  • 3/4 tsp pure vanilla extract
  • 3 cups all-purpose flour

Preparation

Preheat oven to 275 degrees F. In the bowl of an electric mixer fitted with a paddle attachment, cream butter and sugar on medium speed until light and fluffy, about 2 minutes. Add salt and vanilla, and beat to combine. Add flour, 1 cup at a time, beating on low speed until just combined.

On a very floured surface using a floured rolling pin, roll out dough to about 1/4″. (I used floured wax or parchment paper, below and above the dough — less sticky I find.) Use cookie cutters to cut into shapes. Bake until evenly pale golden but not browned, 13-15 minutes. Transfer to a wire rack to cool completely.

Makes 36 cookies.

For the icing, I used Marian at Sweetopia’s recipe here. If you need to know anything about cookie decorating, look around her site — she knows everything!

Hope this fills your emergency cookie needs. Now — to clean. Have a delicious Christmas and holiday season!


Baking Food

Cake Retrospective

As some of you recall, before this year I was cursed with the inability to bake (anything that wasn’t hideous, anyway). And as one of my New Year’s resolutions, I set out to address this fatal flaw. For some context, here is an example of the type of cake I used to bake. Don’t look  if you just ate.

Note the special type of two-layer cake where you can actually see from the outside that it’s two layers. And what is up with those strawberries?!? On a side note, my penmanship has gotten far worse over the years.

This next one is a little blurry, but just ask yourself when you look at it: does this look like an authorized Sanrio Hello Kitty product to you? (The cake, not the giant Hello Kitty in the chair.)

I had not yet discovered the round cake pan at this point in time. Nor did the internet have enough rich content on how to make an inoffensive cake. Cake pops weren’t even invented. And I thought it seemed wasteful to cut off bits of cake so that the layers could lie flat against each other. I call this the “Sloped Cake Style”. Other people call it “gross”.

As you may recall, I started off with cookies, which used to be a source of annual embarrassment for my neighborhood cookie exchange. I feel pretty good about my cookie progress. So it’s time to share some of what I’ve done with cakes.

Here is the very first cake that I’ve ever made that didn’t require me to serve people lots of alcohol ahead of time before unveiling:

I used marshmallow fondant to make the stars, letters and dolphin and piped the decoration on the edges. The cake was frosted in buttercream.

I also made some mini-cupcakes. They’re shown here on a cute little platter from Nora Fleming. It was for my husband’s birthday celebration so I put the margarita mini in.

I also found cute ways to dress up cupcakes, like sticking some plastic rock star rings on top of some of them:

And finally, I ventured way outside my comfort zone and baked a guitar-shaped confection:

So overall, I think I’ve made good progress! How are you doing on your New Year’s resolutions? (I can’t remember my other ones.)

Baking Food

Whole Wheat Strawberry Muffins

This week, I showed my hairdresser a picture of Jennifer Lopez and ended up with Martha Stewart.

Then, true to form, I had the urge to bake like Martha, but healthier.

Curses, Hairdresser, why do you forsake me?!?

I thought these would be good to take along on our upcoming camping trip. You know, to appease the bears. Remind me not to wear my bacon perfume when we go camping.

Start by mixing all the dry ingredients together in a bowl.

I know these pictures are bad but it was late.

Then in the bowl of a mixer, cream and butter and sugar, and then beat in two eggs, one at a time.

Ok, I might have had a drink or two.

Beat in the dry mixture and greek yogurt, alternating half of each at a time. Fold in the strawberries.

Scoop the mixture into 12 muffin cups and bake for 25-30 minutes. If you want to make them prettier, sprinkle them with some raw sugar before you put them in the oven. I adapted this from an America’s Test Kitchen recipe, using whole wheat pastry flour, subbing out nutmeg for allspice and adding in strawberries.

Whole Wheat Strawberry Muffins (adapted from Simple Spiced Whole-Wheat Muffins in the America’s Test Kitchen Healthy Family Cookbook)

Ingredients

  • 2 cups cake flour
  • 1 cup whole wheat pastry flour
  • 1 1/4 cups sugar
  • 1 TBSP baking powder
  • 1/2 tsp baking soda
  • 1/2 tsp salt
  • 1/4 tsp ground cinnamon
  • 1/4 tsp ground allspice
  • 6 TBSP unsalted butter, softened
  • 2 large eggs
  • 1 tsp vanilla extract
  • 1 1/2 cups greek yogurt
  • (optional) 1 TBSP raw sugar

Preparation

Preheat the oven to 375. Line a 12-cup muffin tin with paper liners.

In a large bowl, whisk together flours, 1/4 cup sugar, baking powder, baking soda, salt, cinnamon and nutmeg in a bowl.

In the bowl of a mixer, beat the butter and 1 cup sugar on medium speed til creamy and uniform, 3-6 minutes. Beat in the eggs, one at a time, til combined. Beat in vanilla.

Reduce mixer speed to low and beat in a third of the flour mixture, followed by half the greek yogurt. Repeat with the remaining dry mixture and yogurt.

Scoop batter into baking cups and sprinkle raw sugar on top if desired. Bake for 25-30 minutes, rotating the pan halfway through baking. Cool for 5 minutes and then let cool for 10 minutes on a wire rack before serving.

Makes 12 muffins.

Baking Food

Dolphin Cake Pops (and a Cake Pop Trick)

What are the chances that a bird poops on me twice in 30 minutes? And what are the chances that that happens AND the Winklevii become VCs? 100% apparently. (Though, having lived through a couple of fundraises, I would say in general that the likelihood of getting funding is generally somewhere between the Winklevii becoming VCs and getting pooped on twice in 30 minutes.)

It’s enough to make you want to eat a cake pop.

The girls and I made some recently. And I discovered a new trick. See, the candy coating hardens fairly quickly into something that requires a hammer and chisel to remove. So this time, I put the candy coating in a little ziplock baggie, and then slid that into a mug, folding the mouth of the bag over the top of the mug. Did you know bags had mouths?

So what’s cool about this is that you after you’re done with the coating for the day, you can just pull the ziplock out of the mug, zip it up, and plunk it back in when you’re ready to work with it again. This time, I added in a teaspoon of shortening to help the coating go on a little smoother.

Maybe everyone else already knew this.

Anyway, we made dolphins. Bakerella has great detailed instructions on how to make pops on her site, but here are the basics. First you bake a cake. Let it cool. Then, crumble it into a large bowl.

You may have noticed above that I grew two more hands to do this more efficiently.

Next, squish the cake together with some frosting. Again, see Bakerella for expert advice, but if you use canned frosting, use no more than 3/4 of a can or the pops will be too slippery to stay on the sticks.

Now go to your local police station before you wash your hands and see what happens.

Next, shape them into balls…or in this case, dolphin-ish things. Stick them in the fridge to chill overnight.

When the dolphin-ish things are firm, take them out five or so at a time and dip. We decorated these with just candy coating and edible pen.

Maybe you can’t tell these are dolphins. Some of them have tumors. Our waters are very polluted nowadays.

Some look like T-Rex. I believe he was an ancestor.

Oh, whatever. Cake pops are for eating. So we ate them.

Whatever you do, don’t forget to enter the *nora fleming* giveaway! You get an autographed rectangular platter (you will faint from its cuteness) plus three adorable minis that will change your life and make you lose weight.


Baking Food Popular

Epic Baking Day

Cake pop, bitten

Eeeeeeeeek! It happened. No, not that Nobel Prize thing. The Epic Baking Day that I’ve been eagerly anticipating ever since Bakerella got me popstruck and changed my life forever.

For months, friends have been asking me when I would make cake pops. Soon, I’d say slyly, soon. It was like that time in third grade when I told everyone that I was going to jump off the high dive at the pool and then when I got up there I looked down and thought, Hm, maybe I shouldn’t have told quite so many people that I’d jump off quite so high a diving board, because I’m probably allergic to this kind of thing and I might have a heart attack.

I was nervous about the cake pops, but luckily my friend Danielle from Cozycakes Cottage agreed to help me out (and by help me out, I mean buy everything, bring the book, and make me drinks while telling me what to do). This was a happy day because though Danielle and I have been friends for years, I hadn’t really seen her in a long time. Danielle is double-jointed just like me, so you should really check out her blog. Though I am trying to convince her to merge our blogs into All the Cozy Cottages are Taken.

Danielle unpacked this first so it must have been obvious that I needed it:

Sustenance

And then we thought we should take a picture of us, to document the momentous day (even if the momentous part hadn’t happened yet):

Me and Danielle

If we look a little strained in that picture it’s because we’re squatting. There was no one around to take the picture so we had to use my cheap, short tripod. That’s why I look like I’m in a huddle about to say “hut”.

Danielle also bought a bunch of other stuff, since we had big plans to make tartes and popovers. We never got to those.

Before we knew it we only had a couple of hours left, so we got down to business.  The objective: make baby chicks.

The night before, I made the cake balls. Following Bakerella’s advice, I used Duncan Hines red velvet cake mix and canned cream cheese frosting (about 3/4 of a container). They looked like meat balls. They chilled in the fridge overnight.

Cake balls

We started by punching out little stars and shaping beaks out of fondant, which as far as I can tell lasts forever, since I haven’t made it since this post. I used a handy punching tool that my friend Sandra sent me from Japan.

Punching tool

Then Danielle put the candy coating in a bowl and heated it up:

Candy melts in bowl

Doesn’t she have nice hair? I got that apron for Christmas from my husband.

Aren’t these sticks pretty too?

Sticks

Our first dip:

Dipped cake ball

…and our first baby chick!

Baby chick

Typical firstborn — we took tons of pictures of him. Yes, that’s dish washing liquid in the background.

Baby chick

Awwww, love you baby chick! We had to eat some of the really deformed ones in the back to put them out of their misery.

Here he is with some friends:

Baby chick with friends

…and at his school play:

School play

Maybe not such a flattering angle of him, that one.

Then I cried because Danielle had to go. The chicks were separated, and we hadn’t made that many. Danielle left us lots of candy coating and other supplies.

My kids decided to get in on the action:

Pidge

https://lh6.googleusercontent.com/-WxlSGdAZG4w/T2o6OoPBYVI/AAAAAAAAG6w/4EuYJ0szVEM/s640/DSC_0014-1.JPG

They made Rocker Chick:

Rocker Chick

…and her band:

The band

Then, abruptly, we had to stop! We had friends coming over. We cleaned up. So we didn’t get to the eating part yet…and actually we still have many more pops to make, so…more to come.

But for now, thank you Bakerella for making cake pops such an important part of my life. Instructions here for how to make the cake balls, and of course her site is full of amazing ideas for pops. Thank you Danielle for hand-holding me through it. And thank you friends for pushing me so far beyond my inability to make frosting.

What should we make next?